
Designing a digital product is rarely a straight path. Whether you're building a startup platform in the United States, designing a SaaS dashboard in the UK, or creating a mobile app for users across Europe and Canada, the process of turning an idea into a polished interface can quickly become complex.
This is where a structured UI design workflow becomes essential.
Without a clear workflow, teams often jump straight into visual design. The result? Confusing layouts, inconsistent interfaces, and costly redesigns later in development.
A strong UI workflow moves gradually—from rough structure to refined visuals. Designers begin with wireframes, evolve them into interactive prototypes, and finally create high-fidelity interfaces ready for development.
we’ll walk through a step-by-step UI design workflow, explaining how designers move from simple wireframes to detailed, high-fidelity designs that deliver clear, intuitive user experiences.
Whether you're a founder, product manager, aspiring designer, or creative professional, this framework will help you build better digital products with fewer design mistakes.
What Is a UI Design Workflow?
A UI design workflow is the structured process designers follow to create user interfaces for digital products such as websites, apps, or software platforms.
The workflow helps teams move logically through stages like:
defining user needs
creating layouts
designing interface components
building interactive prototypes
Instead of designing everything at once, the process breaks design into manageable steps.
This approach offers several benefits:
Better collaboration between designers and developers
Faster problem detection during early design stages
More consistent design systems across the product
Across product teams in the United States, Western Europe, and Australia, structured design workflows are now considered a core part of modern product development.
Why Starting with Wireframes Saves Time
One of the most common mistakes in design is skipping the wireframe stage.
Wireframes are simple visual outlines that show structure without visual detail.
They help designers focus on layout and functionality before worrying about colors, typography, or branding.
What Are Low-Fidelity Wireframes?
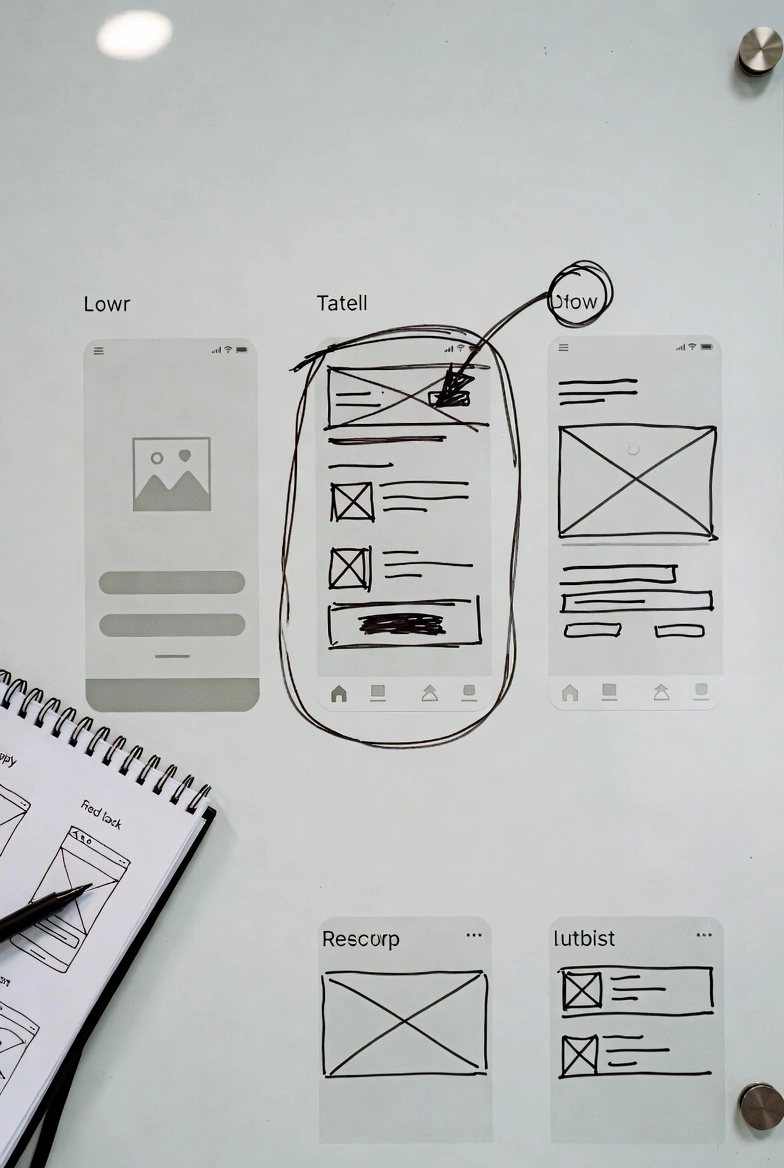
Low fidelity wireframes are basic sketches of a page or interface.
They typically include:
layout blocks
navigation placement
content structure
basic interaction ideas
These wireframes can be created with:
pen and paper
whiteboards
simple digital tools
Because they are quick to produce, designers can explore many ideas without investing too much time.
Benefits of Starting with Wireframes
Using wireframes early in the UI design process provides several advantages.
1. Faster Idea Exploration
Designers can quickly test multiple layout ideas.
A landing page might have:
a hero-focused design
a product-first layout
a feature comparison layout
Wireframes allow teams to evaluate options before committing to visual design.
2. Easier Collaboration
Stakeholders often find wireframes easier to discuss because they focus on structure rather than aesthetics.
This helps teams answer questions like:
Does the page contain the right information?
Is the navigation clear?
Are the main actions visible?
3. Reduced Development Costs
Changing a wireframe is far easier than redesigning a finished interface.
In many product teams across the US and Europe, fixing design issues early can save thousands in development costs.
Step 1: Define User Goals and Product Requirements
Before creating wireframes, designers must understand what the interface needs to accomplish.
This step connects UI design with user experience research.
Identify Key User Tasks
Start by asking a simple question:
What tasks should users complete?
Examples include:
purchasing a product
creating an account
managing a dashboard
searching for information
For instance, a SaaS platform used by businesses in Canada and the UK may prioritize dashboard clarity so users can quickly view key metrics.
Map the User Journey
A user journey outlines the steps users take to reach their goal.
Example journey for an e-commerce user:
Search for a product
View product details
Add to cart
Complete checkout
Understanding these steps helps designers structure the interface logically.
Step 2: Create Low-Fidelity Wireframes
Once goals and flows are defined, designers move to the first visual stage: wireframing.
The goal is structure, not beauty.
Key Elements of Effective Wireframes
Wireframes should clearly show:
navigation structure
content placement
call-to-action buttons
page hierarchy
A typical landing page wireframe may include:
header navigation
hero section
feature blocks
testimonials
call-to-action area
Tips for Better Wireframes
To keep wireframes effective:
avoid detailed design elements
use simple shapes and placeholders
focus on usability and layout
This ensures teams discuss functionality rather than visual style.
Step 3: Move to Mid-Fidelity UI Design
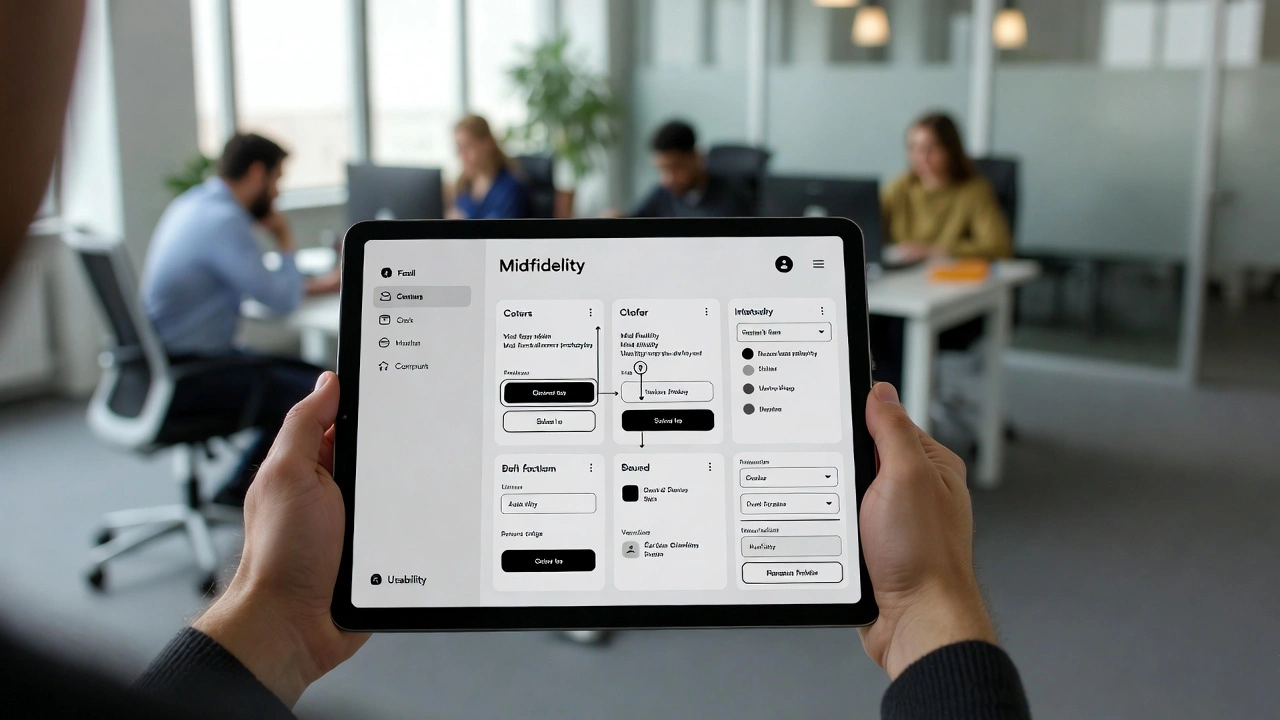
After validating wireframes, designers begin adding structure and detail.
This stage is sometimes called mid-fidelity design.
It bridges the gap between wireframes and polished visuals.
What Changes in Mid-Fidelity Designs?
At this stage, designers refine:
spacing and alignment
content hierarchy
basic typography
UI components
The interface starts to resemble a real product but still avoids full branding.
This phase is critical for refining usability.
Introducing UI Components
Designers begin building reusable elements such as:
buttons
input fields
dropdown menus
cards and panels
These components later form the foundation of a design system workflow.
Step 4: Build Interactive Prototypes
Next, designers create prototypes that simulate real interactions.
A UI prototyping process allows teams to test how the interface behaves before development begins.
Why Prototyping Matters
Static designs cannot reveal all usability issues.
Interactive prototypes allow users to:
click through pages
test navigation
complete tasks
This provides valuable insights into user behavior.
Usability Testing with Prototypes
Testing prototypes with real users helps identify problems such as:
confusing navigation
unclear buttons
inefficient workflows
Even small usability tests with 5–8 participants can uncover major usability issues.
Many design teams across the US and Europe rely heavily on early testing to improve product quality.
Step 5: Create High-Fidelity UI Designs
After testing and refining the structure, designers move to high-fidelity UI design.
This is where the interface becomes visually polished and ready for development.
What High-Fidelity Design Includes
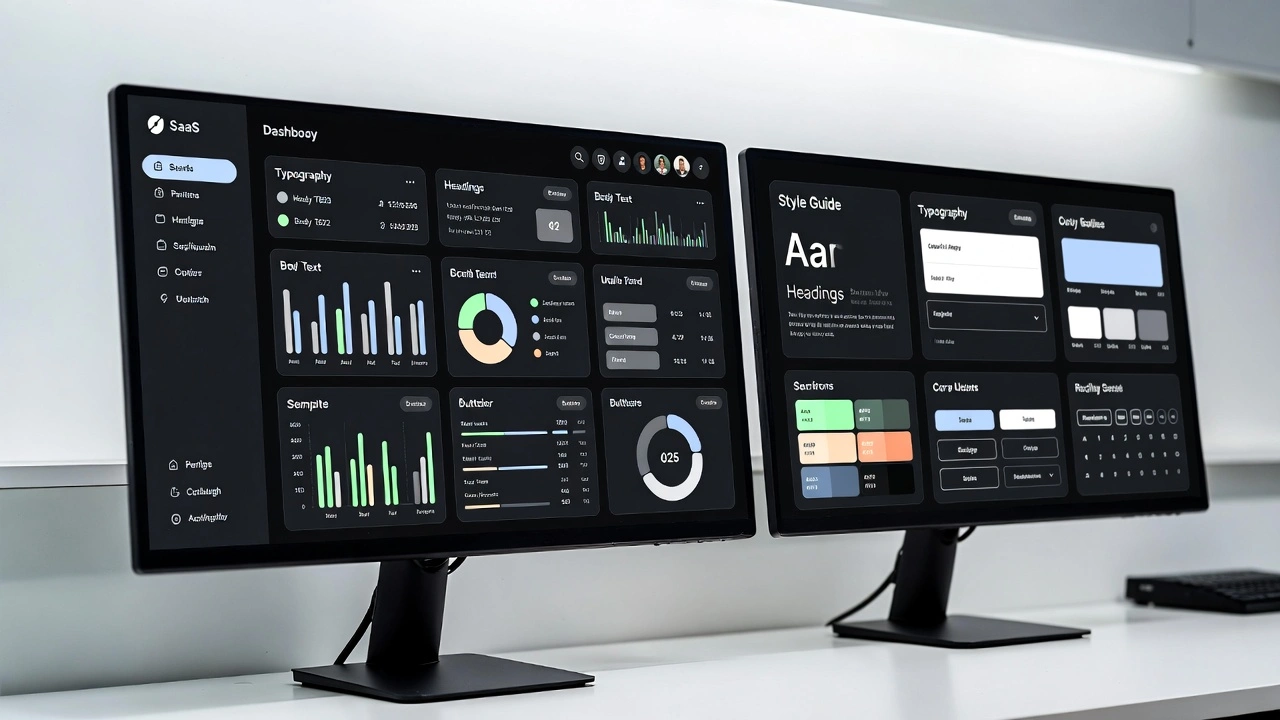
High-fidelity designs include all visual details, such as:
brand colors
typography
iconography
spacing systems
visual hierarchy
The goal is to represent the final product as accurately as possible.
Aligning Design with Branding
This stage ensures the interface aligns with brand identity.
For example:
a fintech platform in the US may emphasize trust through minimal design and blue tones
a lifestyle brand in Europe might use bold visuals and expressive typography
The UI should reinforce brand perception while remaining functional.
Step 6: Prepare Designs for Development
The final stage of the UI design workflow involves preparing assets and documentation for developers.
Clear communication between design and engineering is essential.
What Designers Deliver
Typical design handoffs include:
design files
style guides
component libraries
interaction notes
These materials help developers translate visual designs into functional code.
The Role of Design Systems
Many organizations now maintain design systems.
A design system includes:
reusable components
color palettes
typography rules
spacing guidelines
This ensures consistency across the entire product.
Common UI Workflow Mistakes
Even experienced designers sometimes skip critical steps.
Here are common mistakes to avoid.
Skipping Wireframes
Jumping straight to visual design often leads to poor structure.
Wireframes help solve layout problems early.
Over-Designing Too Soon
Spending too much time on visuals before testing usability can waste time.
Structure and usability should always come first.
Ignoring User Testing
Even small usability tests can reveal design flaws.
Skipping testing increases the risk of launching confusing interfaces.
Poor Communication with Developers
Without clear documentation, developers may interpret designs incorrectly.
A structured handoff process improves implementation accuracy.
Practical Tips for Improving Your UI Design Workflow
Designers can improve their workflow by following a few key practices.
Start Simple
Early sketches often reveal better ideas than detailed mockups.
Focus on structure before visuals.
Iterate Quickly
Great interfaces rarely appear in the first version.
Iteration improves clarity and usability.
Use Component Libraries
Reusable UI components save time and maintain consistency.
Collaborate Early
Involve product managers, developers, and stakeholders early in the design process.
Collaboration prevents misunderstandings later.
Why a Structured Workflow Improves Design Quality
A clear UI design workflow does more than organize tasks.
It improves product outcomes by ensuring that:
user needs guide design decisions
usability issues are discovered early
design systems remain consistent
Companies building digital products in the United States, Europe, Canada, and Australia increasingly rely on structured workflows to deliver reliable user experiences.
For designers, mastering this workflow is one of the most valuable professional skills.
Conclusion: Turning Ideas into Polished Interfaces
Designing great interfaces requires more than creativity—it requires structure.
By following a clear workflow from wireframes to high-fidelity design, teams can transform ideas into polished digital products efficiently.
The process can be summarized in six steps:
Define user goals and product requirements
Create low-fidelity wireframes
Develop mid-fidelity layouts
Build interactive prototypes
Design high-fidelity interfaces
Prepare assets for development
Each stage reduces uncertainty and improves usability.
Whether you’re building a startup product, designing enterprise software, or learning user interface design, mastering this step-by-step UI design workflow will help you create interfaces that are both functional and visually compelling.
Next step:
Try redesigning a simple app screen using this workflow—from sketching a wireframe to building a polished UI mockup. Practicing the full process is the fastest way to improve your design skills.
FAQ
What is a UI design workflow?
A UI design workflow is the structured process designers follow to create user interfaces, typically moving from research and wireframes to prototypes and high-fidelity designs ready for development.
What is the difference between wireframes and high-fidelity designs?
Wireframes show the basic layout and structure of an interface without visual details, while high-fidelity designs include colors, typography, branding, and detailed UI components.
Why are wireframes important in the design process?
Wireframes help designers focus on layout, navigation, and usability before investing time in visual styling. This allows teams to identify problems early.
How long does a typical UI design process take?
The timeline varies depending on project complexity. Small projects may take a few weeks, while large applications can require several months of design iteration and testing.
What tools are commonly used for UI design?
Popular tools for UI design include design platforms for wireframing, prototyping, and collaborative design systems. These tools allow designers and developers to work together efficiently.